Renovating your home on a budget doesn’t mean settling for results that feel temporary or underwhelming. With the right planning, even modest DIY upgrades can create a polished, high-end appearance that holds up over time. The key is knowing which projects deliver the greatest visual impact, which materials offer the best value, and where thoughtful execution matters more than expensive finishes.
High-end design is less about cost and more about consistency, proportion, and attention to detail. By focusing on smart upgrades, avoiding unnecessary tear-outs, and making informed decisions before you begin, you can achieve a finished look that feels intentional and refined rather than pieced together.
Set a Realistic Renovation Budget That Prioritizes Visual Impact

A successful home remodel starts with understanding how to allocate your budget toward improvements that immediately elevate the look and function of your space. Rather than spreading funds thinly across too many projects, prioritize areas that create noticeable change, such as kitchens, bathrooms, and storage. Visual upgrades tend to deliver the strongest return for both daily enjoyment and resale value.
Once priorities are established, divide your budget into fixed costs and flexible upgrades. Fixed costs include permits, safety updates, and essential repairs, while flexible funds can be shifted toward finishes or features that matter most to you. This approach prevents overspending early and allows for adjustments as the project progresses.
Helpful budgeting strategies include:
- Reserving contingency funds for unexpected repairs
- Splitting projects into phases to manage cash flow
- Investing more in visible surfaces than hidden components
Refresh Bathrooms Strategically Instead of Doing Full Tear-Outs
Many homeowners assume bathrooms require full demolition to look updated, but targeted improvements often deliver better results at a fraction of the cost. Instead of tearing everything out, focusing on visible, high-impact elements allows you to refresh the space while avoiding the expense and disruption of major construction. Consulting with bathroom remodelers for a planning or assessment session can help pinpoint outdated features, identify structural elements worth preserving, and highlight opportunities for upgrades that won’t trigger costly plumbing or electrical changes. This type of expert insight helps homeowners invest their time and money where it truly matters, reducing the risk of overspending on changes that add little value.
Cosmetic updates like replacing mirrors, lighting, and fixtures can dramatically change the room’s appearance without altering plumbing or layout. Modern fixtures instantly update the style, while layered lighting improves both functionality and ambiance. Repainting walls in lighter, neutral tones reflects more light, creating a cleaner, more upscale feel that makes the space appear larger and more inviting. When paired with updated hardware and thoughtful finishing details, these simple changes can transform a dated bathroom into one that feels intentional, polished, and far more expensive than it actually was.
High-impact bathroom updates include:
- Swapping dated fixtures for modern finishes
- Replacing old mirrors with framed or backlit options
- Updating grout and caulk for a clean, finished look
Upgrade Tubs and Surrounds Without Rebuilding the Entire Bathroom
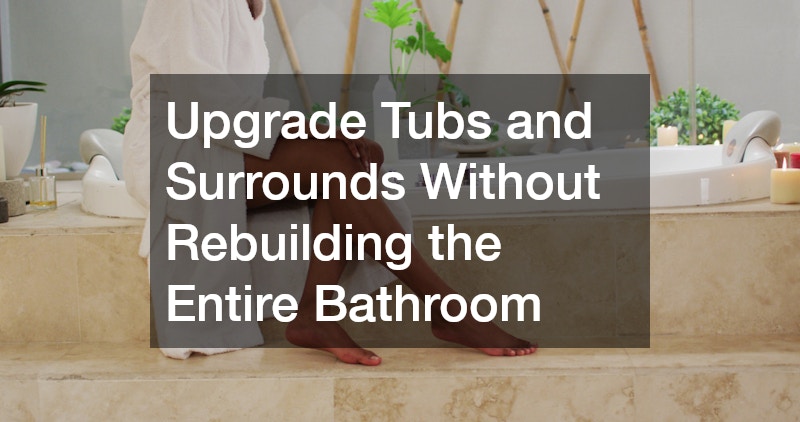
A full bathtub replacement often seems intimidating, especially when considering the labor, plumbing adjustments, and potential mess involved in a complete tear-out. However, modern solutions now allow homeowners to achieve a high-end, luxurious look without engaging in major construction. Refinishing an existing tub with professional-grade coatings or installing prefabricated surrounds can dramatically improve the aesthetics of the bathroom while keeping labor costs and project timelines manageable. These approaches are particularly appealing for homeowners working within tight schedules or on a limited budget, as they can deliver an upscale feel without the disruption and expense of a full demolition.
When selecting materials, it’s important to prioritize durability and ease of maintenance over custom fabrication, which can quickly drive up costs and complicate installation. Acrylic and composite surrounds, for instance, provide smooth surfaces, clean lines, and modern finishes that mimic high-end materials without the intricacies of tile work. These materials are also easier to clean and more resistant to stains and cracks, making them practical for long-term use. Proper preparation—measuring accurately, leveling surfaces, and ensuring all plumbing connections are correct—is essential to achieving a seamless final result that feels custom-built.
Cost-saving tub upgrade tips include:
- Refinishing instead of removing cast iron tubs
- Using prefabricated panels to reduce labor
- Upgrading fixtures to complement the new surround
Create Custom Storage That Looks Built-In on a Budget
Well-designed storage can instantly make a home feel more luxurious, especially when it appears custom-built rather than added as an afterthought. Installing custom closets using modular components allows homeowners to create a tailored, built-in look without the cost or long lead times of fully bespoke cabinetry. With careful measuring and layout planning, modular systems can be adapted to awkward corners, sloped ceilings, and varying wall depths, ensuring that every inch of available space is used efficiently. This approach not only improves organization but also enhances the overall flow and functionality of the room.
Design choices such as uniform finishes, concealed fasteners, and consistent spacing play a major role in achieving a high-end appearance. When shelves, drawers, and hanging rods align cleanly, the result feels intentional and professionally designed. Even small upgrades can make a noticeable difference, such as using matching hangers, adding soft-close hardware, or installing integrated lighting to improve visibility. These thoughtful details elevate everyday storage into a refined feature that feels both practical and luxurious, proving that smart design matters just as much as the materials themselves.
Ways to enhance DIY storage projects:
- Choose neutral finishes for timeless appeal
- Add trim to give modular units a built-in look
- Incorporate adjustable shelving for flexibility
Achieve a High-End Kitchen Look Without a Full Renovation
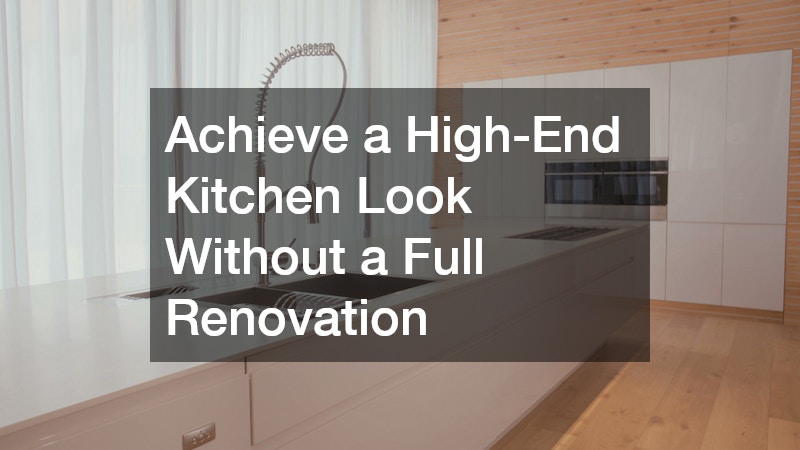
Kitchens offer one of the best opportunities for dramatic visual upgrades without major construction, making them ideal for budget-conscious renovations that still aim for a high-end feel. Small changes such as updating cabinet finishes, replacing outdated hardware, and improving lighting can completely transform the look and functionality of the space in a relatively short amount of time. Layered lighting—combining under-cabinet lights, overhead fixtures, and task lighting—enhances both ambiance and practicality, giving the kitchen a polished, modern feel. Even modest upgrades, when executed thoughtfully, can make the space feel brand-new without the disruption or cost of a full remodel.
Adding granite countertops, even at entry-level price points, instantly elevates the kitchen and provides a durable, visually striking focal point. Opting for standard slab sizes and simple edge profiles helps keep costs manageable while maintaining a sense of elegance and sophistication. Pairing these stone surfaces with understated cabinetry or neutral finishes ensures the countertops stand out without overwhelming the room’s design. By focusing on contrast, proportion, and clean lines, homeowners can achieve a high-end look that feels cohesive, timeless, and luxurious—all without exceeding a practical budget.
Affordable kitchen upgrades that feel upscale:
- Repainting cabinets with professional-grade paint
- Installing under-cabinet lighting
- Choosing simple, durable countertop profiles
Know When Light Professional Help Saves You Money Long-Term
DIY doesn’t mean doing everything alone. Consulting a home construction company for limited guidance or inspections can prevent costly errors, especially for projects that involve structural changes, permits, or building codes. Even a brief walkthrough or plan review can reveal issues a homeowner might overlook, such as load-bearing concerns, ventilation requirements, or safety setbacks. This type of targeted professional input often pays for itself by helping you avoid rework, delays, or failed inspections that can quickly derail both your timeline and budget.
Short-term consultations can also help clarify project sequencing and material selection before any work begins. Understanding the correct order of operations—such as when to complete rough work, finishes, and installations—keeps renovations efficient and protects completed areas from accidental damage. Professionals can also recommend materials that balance cost, durability, and availability, reducing the risk of choosing products that are difficult to install or maintain. With this guidance, DIY homeowners can move forward with greater confidence, knowing their efforts are aligned with best practices rather than guesswork.
Smart ways to use professional help selectively:
- Scheduling pre-project walkthroughs
- Hiring experts for inspections only
- Using consultations to confirm plans
Plan Structural or Layout Changes With Future Value in Mind
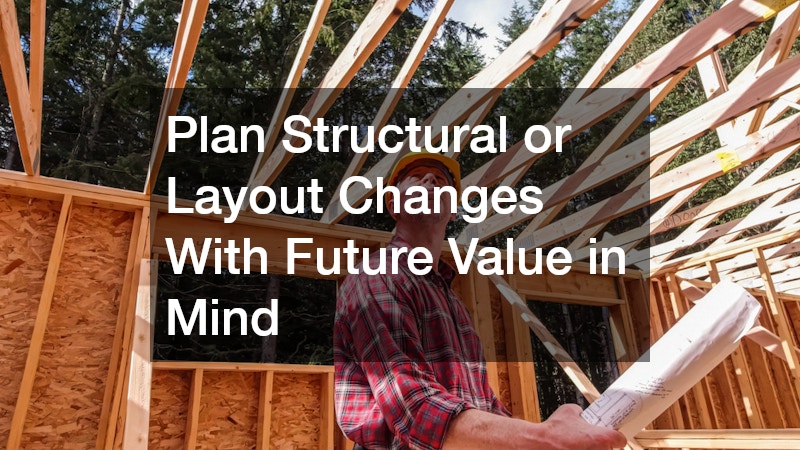
Even small layout adjustments can significantly improve flow and functionality when planned correctly. A home builder can offer valuable insight into which changes are realistic within your budget, which walls may be load-bearing, and how proposed adjustments could affect structural integrity or future maintenance. This guidance is especially helpful for open-concept conversions or room reconfigurations, where removing or shifting walls can dramatically change how a space feels but also introduces technical considerations that are easy to overlook. With professional input, homeowners can make confident decisions that balance design goals with practical limitations.
When planning changes, it’s important to consider how the space will be used not just today, but over time. Flexible layouts that allow rooms to serve multiple purposes tend to age better and appeal to a wider range of future buyers. Thoughtful planning—such as maintaining clear traffic paths, preserving natural light, and avoiding overly specialized configurations—ensures the space remains functional as household needs evolve. By prioritizing adaptability, homeowners create layouts that feel comfortable now while offering lasting value well into the future.
Layout planning considerations include:
- Maintaining clear traffic flow
- Preserving natural light
- Avoiding overly personalized changes
Improve Energy Efficiency With Small System Upgrades
Energy efficiency upgrades often feel expensive, but small, targeted improvements can deliver meaningful savings without requiring major system overhauls. Homes using residential propane systems, in particular, benefit from proper ventilation, improved insulation, and routine safety checks that enhance performance and efficiency. Simple actions such as sealing gaps around venting, insulating nearby piping, and confirming that exhaust paths are clear can help systems operate more effectively while reducing wasted energy. These modest upgrades improve safety and functionality without the cost of full replacement.
Efficiency improvements not only reduce monthly utility costs but also increase overall comfort and reliability throughout the home. Better airflow and insulation help maintain consistent temperatures, eliminate drafts, and reduce strain on mechanical components. These upgrades are especially valuable during renovations, when walls, ceilings, or utility areas are already exposed and access is easier. Addressing efficiency at this stage minimizes labor costs and ensures long-term benefits, allowing homeowners to enjoy a more comfortable and cost-effective living environment well after the renovation is complete.
DIY-friendly efficiency improvements include:
- Sealing gaps around vents and lines
- Improving insulation near mechanical systems
- Performing regular safety inspections
Modernize Utility Systems Without Full Replacement Costs
Utility upgrades don’t always require complete system replacement to feel modern and reliable. Improving the performance of an existing water heater through regular maintenance, added insulation, and minor component upgrades can significantly extend its lifespan while improving efficiency. Simple steps such as insulating exposed hot water lines, checking pressure relief valves, and ensuring proper ventilation help the system operate more consistently and reduce unnecessary energy loss. These proactive updates lower the risk of unexpected breakdowns during or after renovations, when disruptions are especially inconvenient and costly.
Smart controls and routine flushing also play an important role in maintaining reliable performance while keeping costs manageable. Flushing the tank removes sediment buildup that can reduce efficiency and strain internal components, while smart temperature controls allow homeowners to fine-tune settings based on usage patterns. Preventive maintenance not only improves daily performance but also helps identify minor issues before they become major problems. Compared to the expense and stress of emergency repairs or premature replacement, these modest investments deliver long-term savings and peace of mind.
Practical utility upgrade tips:
- Insulating hot water lines
- Installing temperature controls
- Scheduling routine maintenance
Protect Your Renovation Investment Before Problems Start
Renovations can disturb hidden areas of a home, increasing the risk of unwanted infestations that may have gone unnoticed for years. Opening walls, moving insulation, or exposing crawl spaces can displace pests and drive them into newly finished areas. Scheduling a pest control service before and after renovations helps identify existing issues, treat vulnerable areas, and protect new materials from damage. This proactive approach safeguards your investment and reduces the likelihood of discovering problems only after surfaces have been sealed and finished.
Prevention is especially important when walls are opened or materials are stored on-site, as construction debris and exposed framing can attract insects or rodents. Taking steps early allows potential entry points to be sealed and problem areas addressed before they escalate. Addressing these concerns in advance saves time, money, and frustration later, helping ensure that your renovation remains focused on improving comfort and appearance rather than correcting preventable issues.
Preventive pest measures include:
- Sealing entry points before renovations
- Treating exposed framing areas
- Scheduling follow-up inspections
Achieving a high-end look on a budget is about strategy, not shortcuts. Thoughtful planning, selective upgrades, and attention to detail allow DIY homeowners to create spaces that feel refined, durable, and intentional. By focusing on value-driven improvements and knowing when to seek limited professional guidance, you can transform your home without overspending.
The most successful renovations balance creativity with practicality. When each decision supports both function and aesthetics, even budget-friendly projects can deliver results that feel truly elevated and built to last.